
Connecting & Discovering Network Printers
MakerSpell leverages zero-configuration local network discovery to automatically find your 3D printers without tedious manual setup.
1. Automatic Discovery
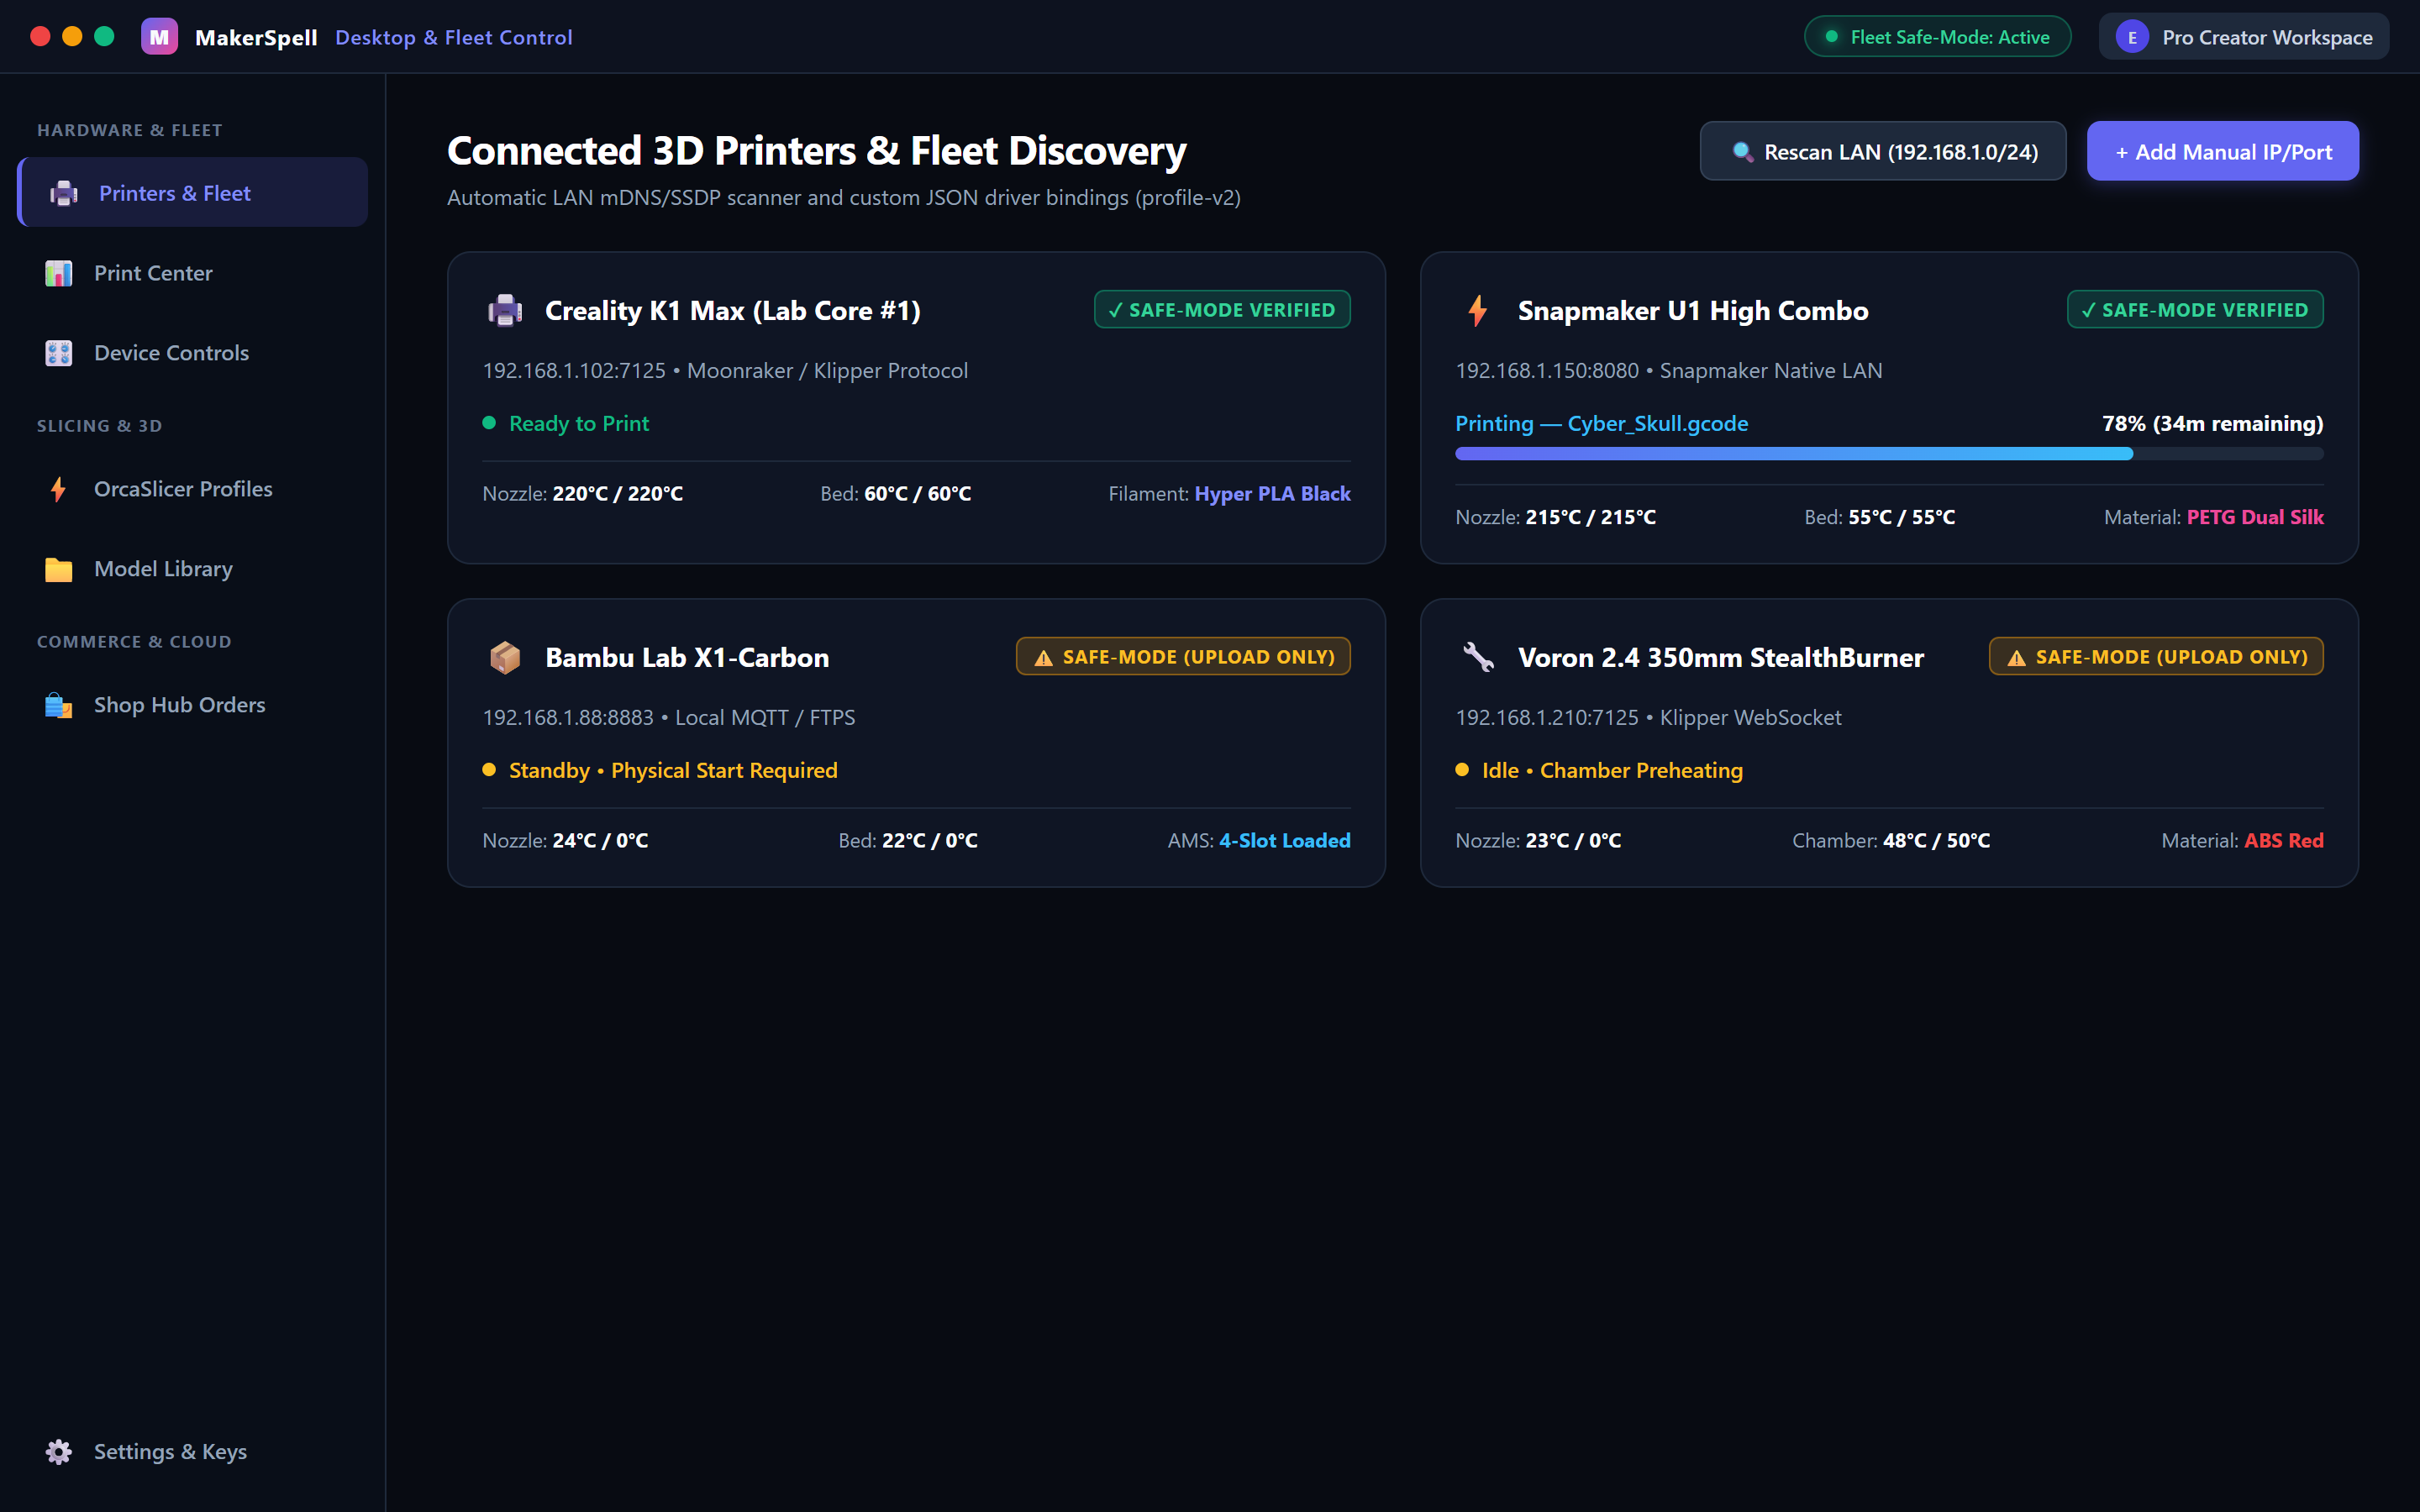
- Ensure your 3D printer is powered on and connected to the same Wi-Fi or Ethernet network as your computer or smartphone.
- In MakerSpell, open the "Network Printers" screen from the navigation menu.
- Click the "Scan / Refresh" button in the top-right corner.
- MakerSpell scans local mDNS (Zeroconf), CrealityOS, and Moonraker ports across your subnet.
- Within seconds, your printer (e.g. Creality K1, Snapmaker U1, Klipper/Moonraker) will appear in the fleet list.
- When the connection indicator turns green, the printer is online and ready to operate.
2. Adding a Printer Manually via IP
If your router blocks multicast traffic (mDNS) or your printer is on a different subnet:
- Click the "Add Printer" (+) button on the Network Printers screen.
- Enter the device parameters:
- Display Name: A friendly label (e.g., Workshop K1 Max).
- IP Address: The local IPv4 address shown on your printer display (e.g.,
192.168.1.105). - Port:
- Klipper / Moonraker default:
7125 - CrealityOS (K1, Ender-3 V3, Hi):
80 - OctoPrint:
80or5000 - Driver / Protocol: Select the matching driver (e.g. Creality Local v2, Moonraker, OctoPrint).
- Click "Test Connection & Save". Once confirmed, your printer is saved permanently.
3. Dynamic IP Changes (DHCP Stability)
If your router reassigns IP addresses after a reboot, MakerSpell’s Stable Hardware ID architecture retains your printer configuration. The app tracks the hardware identity (MAC/UUID) in the background and transparently reconnects as soon as the printer appears on its new IP address.